

Important Note:
Please note that aftermarket remote controls are not universally compatible. They are designed for specific aftermarket systems.
If you're here without checking your existing remote's FCC ID/Part Number or your system model under the dash, please contact us at:

Description
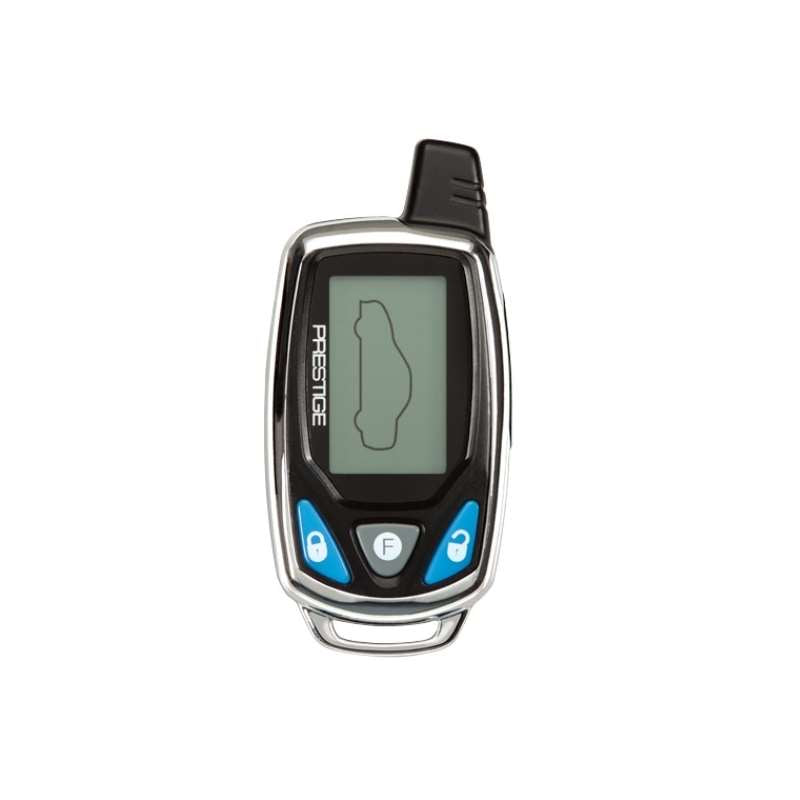
Used 2Way Prestige SS92P Keyless Starter Remote ELVATRJB with programming instructions and battery included free.
Works on these Audiovox / Prestige / Pursuit systems: SS6900 and SS9000.
Programming Procedure:
1. Turn the ignition switch to the ??N??position.
2. Press and release the valet/program switch three times. (Siren emits 1 short chirp indicating channel 1 has been entered.)
3. Press and hold the button of the first transmitter you wish to control the Lock & Arm feature of your security system until a long chirp is heard from the siren and a confirmation beep from the LCD transceiver. (Repeat this for each transmitter you wish to operate the Lock & Armfeature.)
4. Press and release the valet program switch one time. (Siren emits 2 short chirps indicating channel 2 has been entered.)
5. Press and hold any unused button(s) of the first transmitter you wish to control the Unlock/Disarm feature of your security system until a long chirp is heard from the siren.
NOTE: This channel is used only if you desire separate control of the Lock/Unlock feature. If you wish to operate the Lock/Unlock features from a single button, move onto step 6 as whatever button is programmed into channel 1 will control both Lock & Arm/Unlock & Disarm. (Repeat this for each transmitter you wish to operate the Unlock/Disarm feature.)
6. Press and release the valet program switch one time. (Siren emits 3 short chirps indicating channel 3 has been entered.)
7. Press and hold any unused button(s) of the first transmitter you wish to control Channel 3 output (Trunk Release), until a long chirp is heard from the siren. (Repeat this for each transmitter you wish to operate the Channel 3 output.)
8. Press and release the valet program switch one time. (Siren emits 4 short chirps indicating channel 4 has been entered.)
9. Press and hold any unused button(s) of the first transmitter you wish to control Channel 4 output (Auxiliary Output 1), until a long chirp is heard from the siren. (Repeat this for each transmitter you wish to operate the Channel 4 output.)
10. Press and release the valet program switch one time. (Siren emits 5 short chirps indicating channel 5 has been entered.)
11. Press and hold any unused button(s) of the first transmitter you wish to control Channel 5 output, (Auxiliary Output 2) until a long chirp is heard from the siren. (Repeat this for each transmitter you wish to operate the Channel 5 output.)
12. Press and release the valet program switch one time. (Siren emits 6 short chirps, indicating channel 6 has been entered.)
13. Press and hold the unlock button, (or any unused button(s)), of the first transmitter you wish to control Channel 6 output, (Driver Priority 1) until a long chirp is heard from the siren. (Repeat this for each transmitter you wish to operate the Channel 6 output, Driver Priority 1.)
14. Press and release the valet program switch one time. (Siren emits 7 short chirps indicating channel 7 has been entered.)
15. Press and hold the unlock button (or any unused button(s)) of the first transmitter you wish to control Channel 7 output, (Driver Priority 2) until a long chirp is heard from the siren. (Repeat this for each transmitter you wish to operate the Channel 7 output, Driver Priority 2.)
NOTE: Channels 6 and 7 can be used as a separate output to control a function other than driver priority. Simply programming any unused transmitter button other than the unlock button will allow complete independent control of these outputs.